Creating a compelling video project requires meticulous planning and organization. One of the most critical steps in this process is storyboarding. A storyboard serves as a visual roadmap for your video, detailing each scene’s layout and ensuring that your vision is effectively communicated to your team. Here are six essential tips for storyboarding your video project:
1. Understand Your Script
Before you begin storyboarding, it’s crucial to have a thorough understanding of your script. The script is the foundation of your video project, and each storyboard frame should align with the narrative flow. Read through the script multiple times, breaking it down into scenes and key moments. Highlight the pivotal points that need to be visually represented. This initial step ensures that your storyboard captures the essence of your story and maintains a cohesive structure.
2. Define Your Shots
Once you’ve dissected your script, the next step is to define your shots. Decide how you want each scene to be framed. Will it be a close-up to capture a character’s emotions, a wide shot to set the scene, or a medium shot to show interactions between characters? Defining your shots helps in visualizing the composition of each frame and ensures that you convey the intended message effectively. It’s also helpful to consider camera movements and transitions at this stage.
3. Create a Visual Style
Consistency in visual style is key to maintaining the aesthetic quality of your video. Before you start sketching your storyboard, decide on the overall look and feel of your video. Consider factors such as color schemes, lighting, and art direction. Creating a mood board can be helpful in this phase. By establishing a clear visual style, you can ensure that your storyboard reflects the artistic direction of your project and provides a cohesive visual experience.
4. Use Simple Sketches
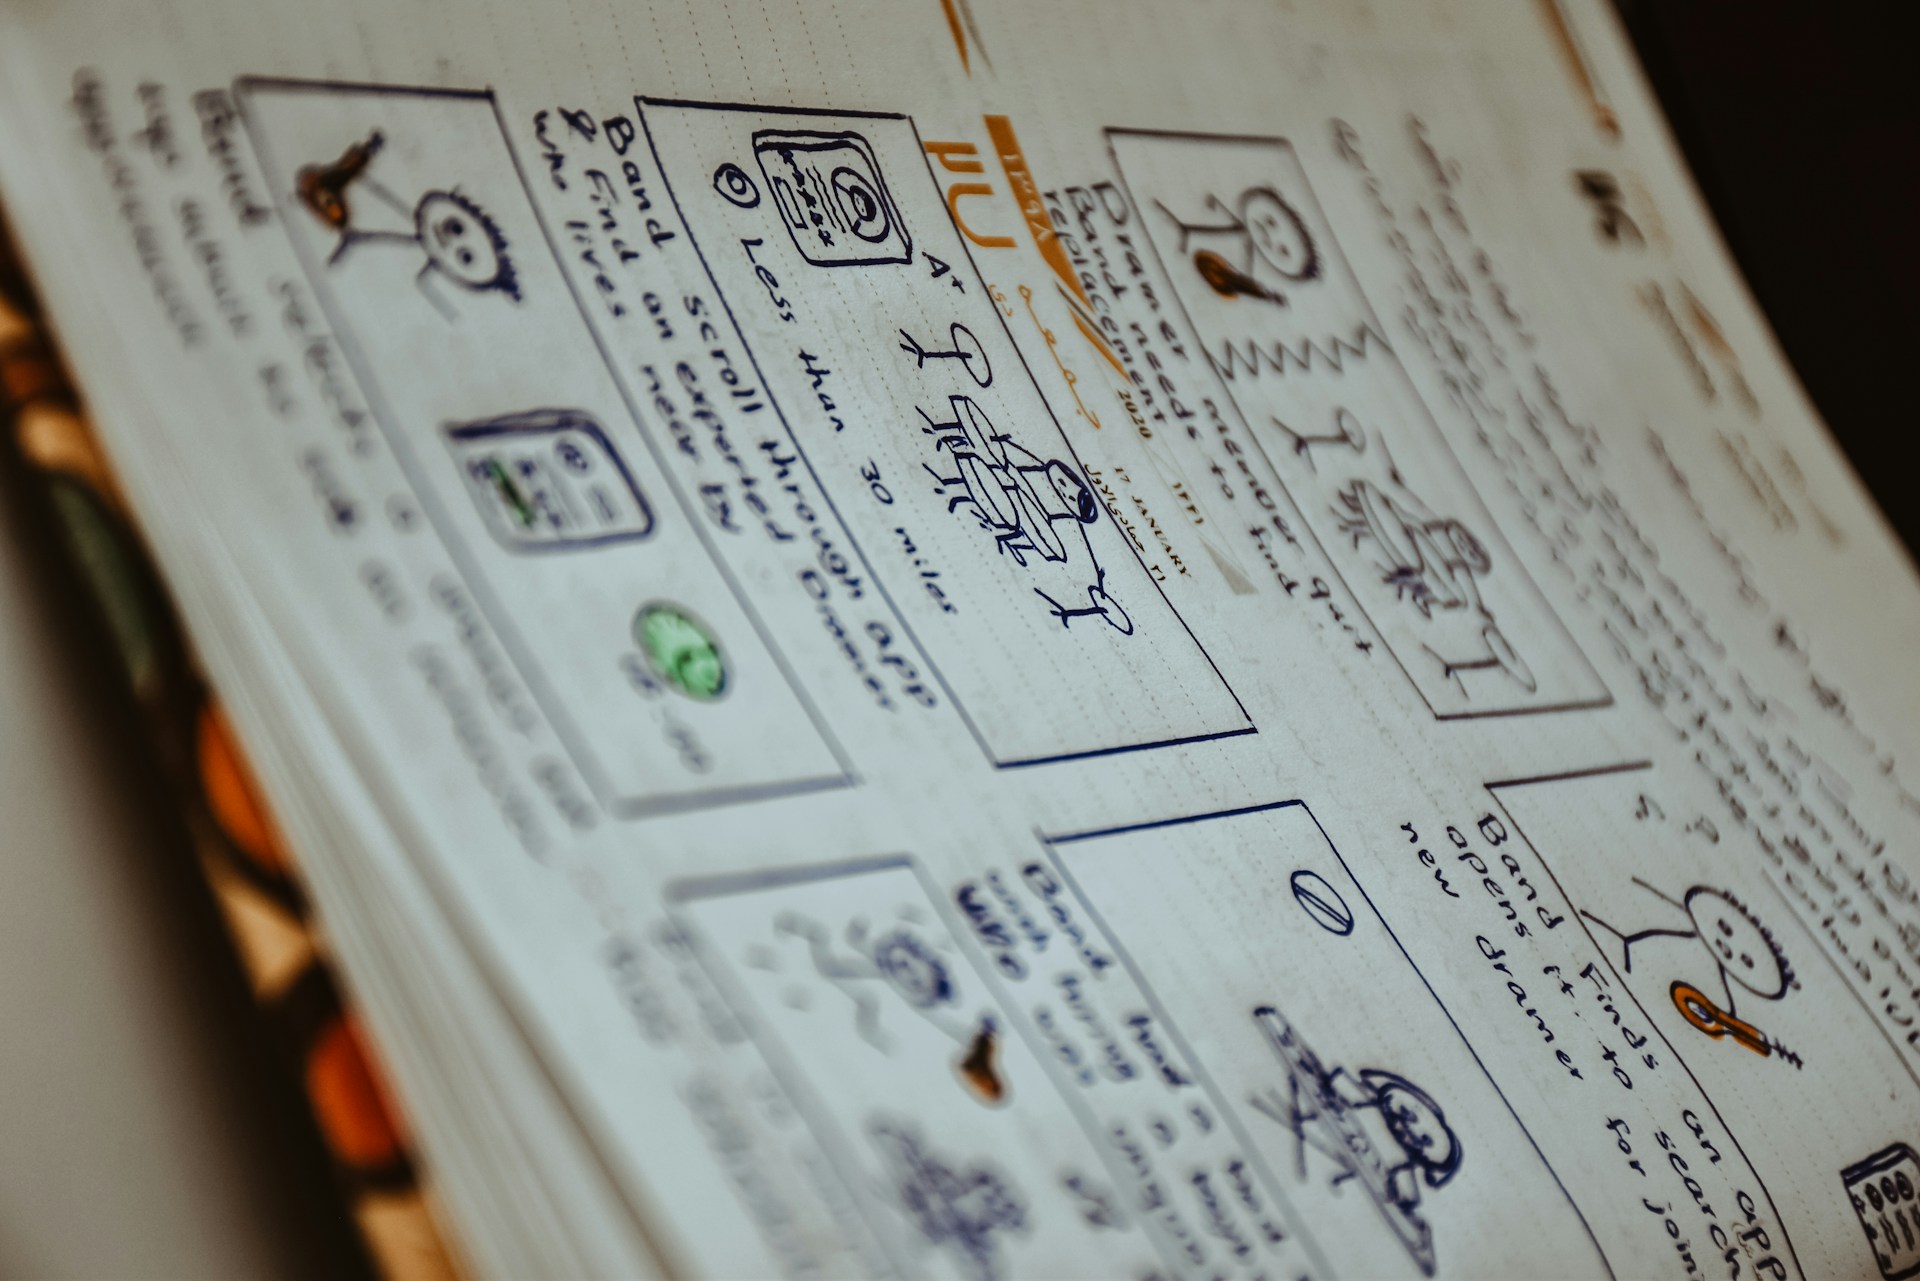
You don’t need to be a professional artist to create an effective storyboard. Simple sketches can convey your ideas just as well. Focus on clarity and coherence rather than artistic perfection. Use basic shapes and stick figures to represent characters and objects. Label important elements and actions within each frame. The goal is to provide a clear visual guide for your team, so simplicity and clarity should be prioritized over intricate details.
5. Incorporate Notes and Directions
Alongside your sketches, incorporate notes and directions to provide additional context. These notes can include information about dialogue, sound effects, camera angles, and movements. Detailed notes help ensure that everyone involved in the project understands the vision for each scene. This level of detail is especially important during the production phase, as it minimizes misunderstandings and streamlines the filming process.
6. Review and Revise
Storyboarding is an iterative process. After completing your initial storyboard, review it thoroughly. Gather feedback from your team and be open to revisions. Identify any gaps or inconsistencies in the narrative flow and make necessary adjustments. Revising your storyboard ensures that it aligns with your vision and meets the project’s objectives. Remember, the storyboard is a dynamic tool that evolves as your project progresses.
Bring Your Vision to Life
A well-crafted storyboard is essential for bringing your video project to life. It serves as a blueprint that guides the entire production process, ensuring that your vision is effectively communicated and executed. By understanding your script, defining your shots, creating a visual style, using simple sketches, incorporating notes, and continuously reviewing and revising, you can create a storyboard that sets the foundation for a successful video project.